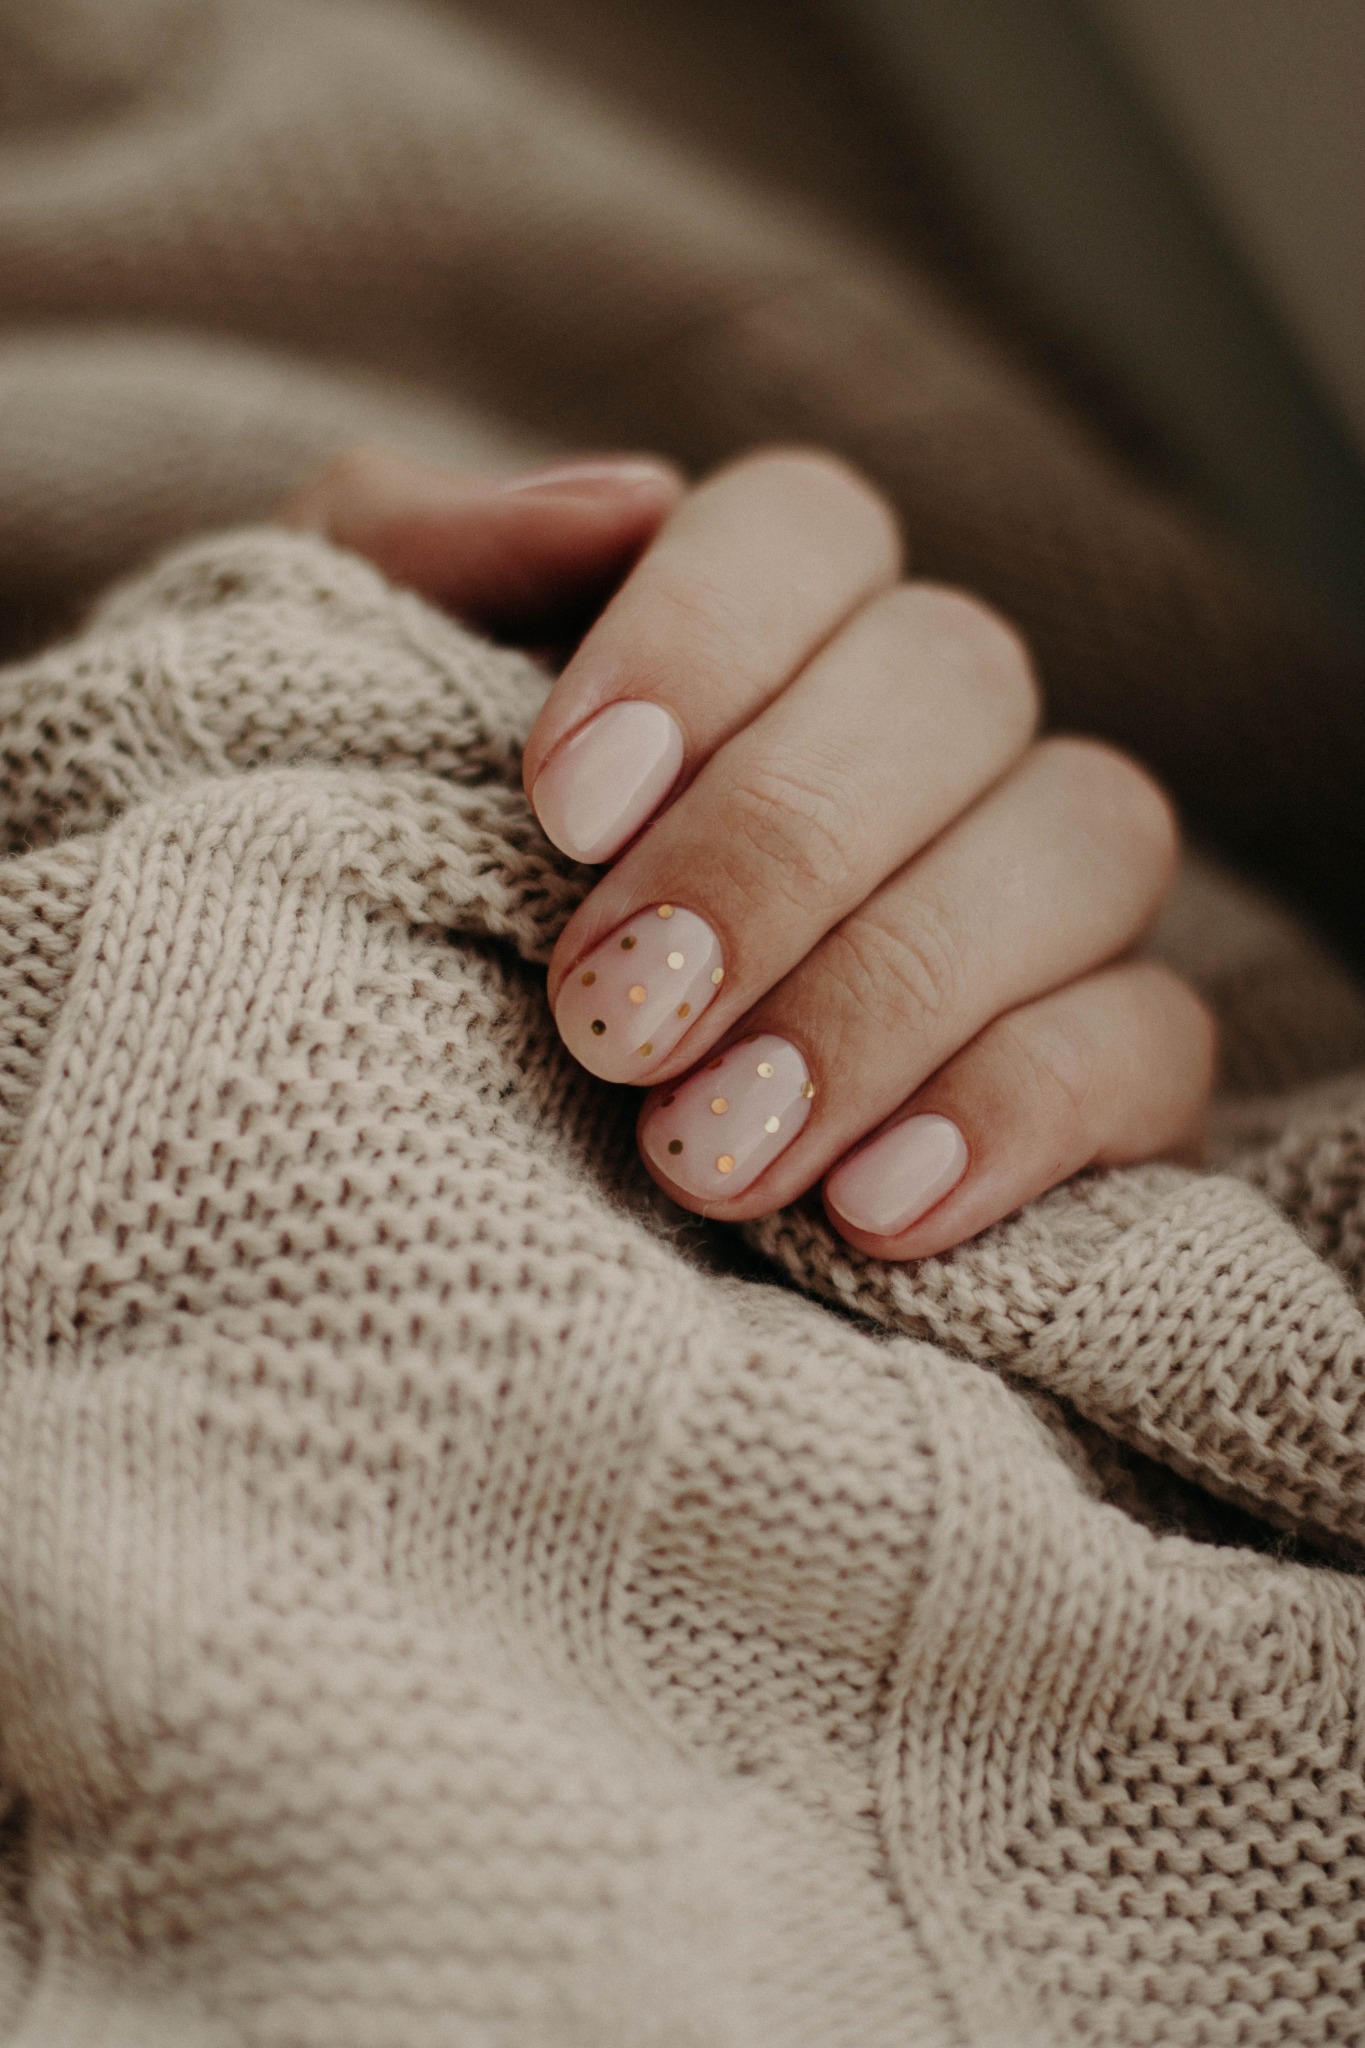
Press-on nails have come a long way. They can look surprisingly close to a salon manicure, cost a fraction of the price, and take minutes instead of an appointment—but the difference between nails that pop off tomorrow and nails that actually last usually comes down to the prep.
You don’t need a complicated nail routine or a drawer full of products. A few small steps before application can make inexpensive press-ons look better, fit more naturally and stay put longer.
And that’s exactly the kind of shortcut we like around here: less time, less money, still cute.
The Press-On Nails We Reach For
KISS imPRESS Press-On Manicure
Good to Know: The application matters just as much as the nail. Even a great press-on can lift early if there’s oil, lotion or moisture left on the natural nail.
Before You Apply Them
1. Start with clean, dry nails
The few minutes you spend prepping your natural nails can make a big difference in how your press-ons look and how long they stay on
1. Start with clean, dry nails
Remove any old polish and wash and thoroughly dry your hands. Avoid applying lotion, cuticle oil or other oily products right before your press-ons.
2. Gently push back your cuticles
Press-ons look more natural when they’re sitting on the nail plate instead of overlapping the cuticle. Gently push the cuticle area back before you start sizing your nails.
3. Lightly prep the nail surface
A light buff can remove some of the natural shine and give the adhesive a better surface to grip. The goal isn’t to aggressively file or thin your natural nail.
4. Remove the oil
Wipe each natural nail with alcohol or the prep pad included with your press-ons. Let them dry completely before applying anything.
Size Them Before You Glue Anything
Lay out all 10 press-ons and match them to your natural nails before you begin. The right size should cover the nail from sidewall to sidewall without sitting on your skin.
Good to Know: Stuck between two sizes? Try the slightly larger nail and gently file the sides for a more customized fit.
Want Them to Last Longer? Add Nail Glue
The adhesive tabs on imPRESS nails make application incredibly easy, but adding nail glue can give you extra staying power when you want your manicure to last longer.
Apply a small amount of nail glue rather than flooding the nail. Too much glue can squeeze onto the surrounding skin and make application messier without necessarily giving you a better result.
Align the press-on near the cuticle without placing it on the skin, then press it firmly onto the natural nail. Hold it in place according to the product and glue instructions before moving to the next nail.
Good to Know: More glue isn’t the goal. Good prep + good fit + careful application matter too.
One More Trick: Do Them Before Bed
If you can, apply your press-ons after you’re finished showering, washing dishes and doing everything else that keeps your hands in water.
Giving the adhesive time to set before prolonged water exposure can help protect your fresh manicure.
The Her Life, Easier Method
You don’t need a salon appointment every time you want your nails done.
Prep them well. Size them first. Use a little extra glue when you want more staying power. Then give them time to set.
A $10-ish set of press-ons isn’t going to replace every salon manicure—and it doesn’t need to. It’s an easy option for busy weeks, trips, events, last-minute plans or simply when you’d rather spend your time and money somewhere else.
The Bottom Line
Press-on nails are one of those little shortcuts that can genuinely make life easier. They’re quick, affordable and surprisingly polished when they’re applied well.
And if one eventually pops off? Keep a little nail glue in your bag and move on with your day.
Less appointment time. Less money. Still cute. We’re calling that a win.
Always follow the application and removal instructions provided with your press-on nails and nail adhesive. Avoid applying press-ons or glue to irritated, injured or infected skin or nails. Product availability, formulas and instructions may change.